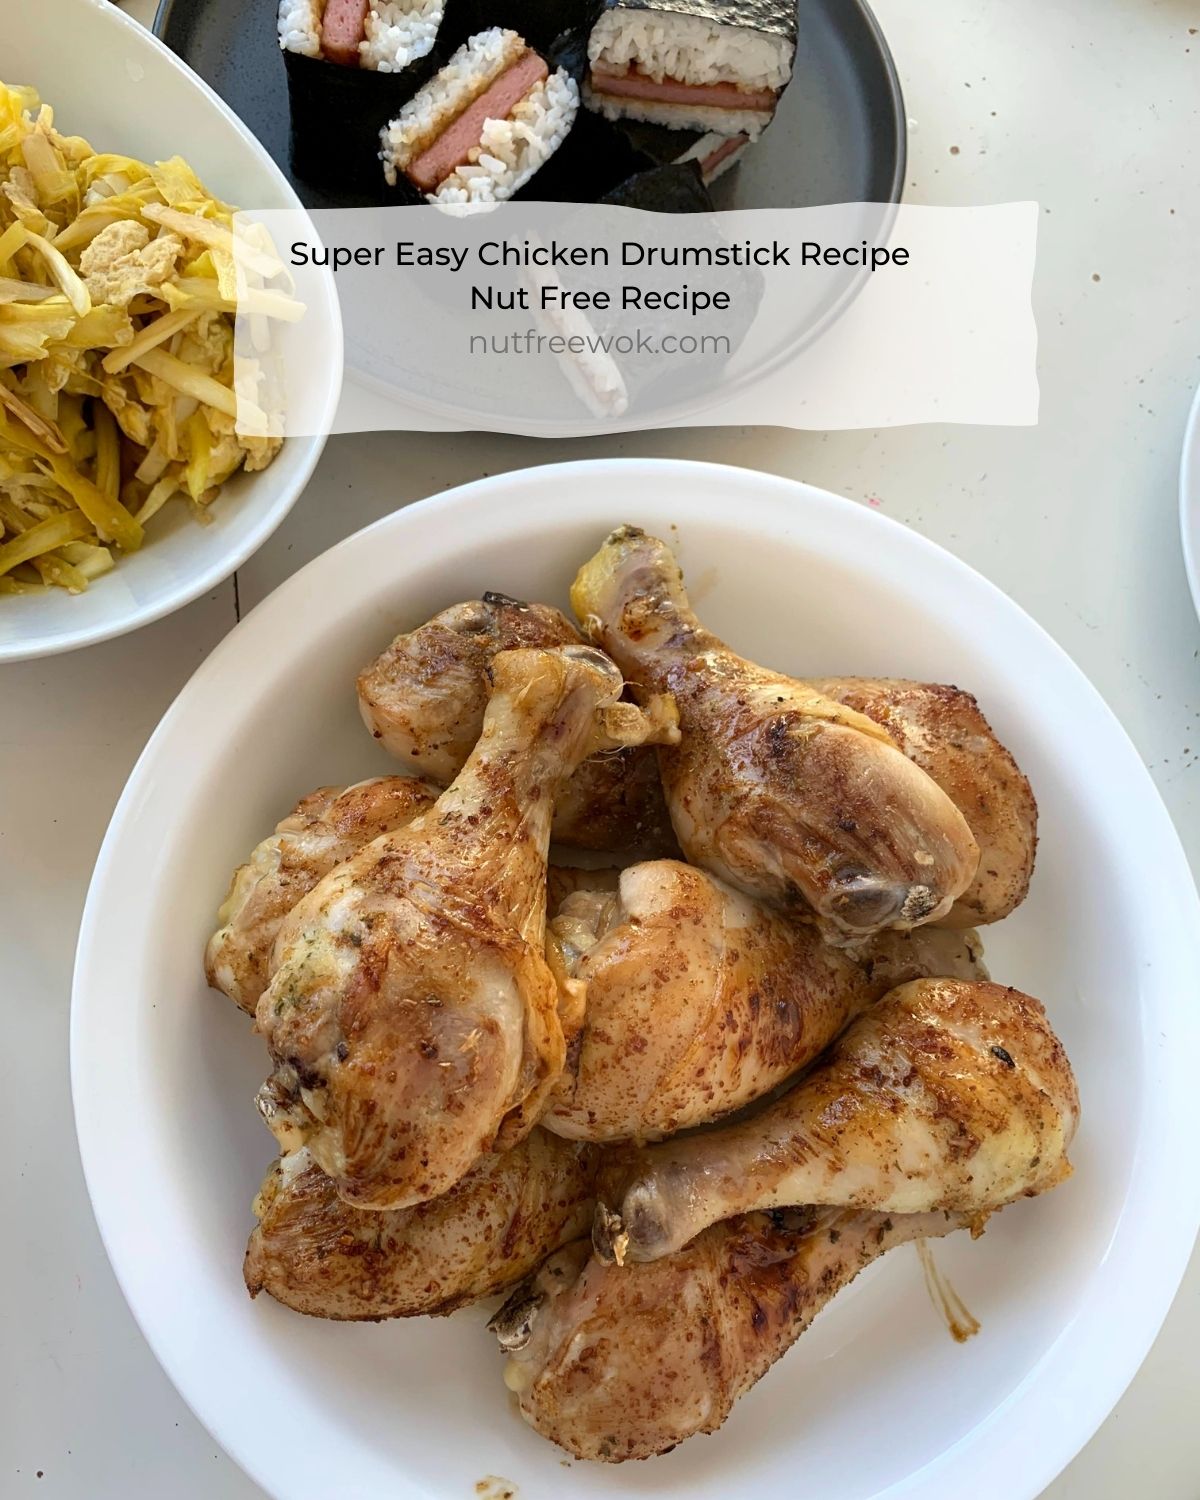
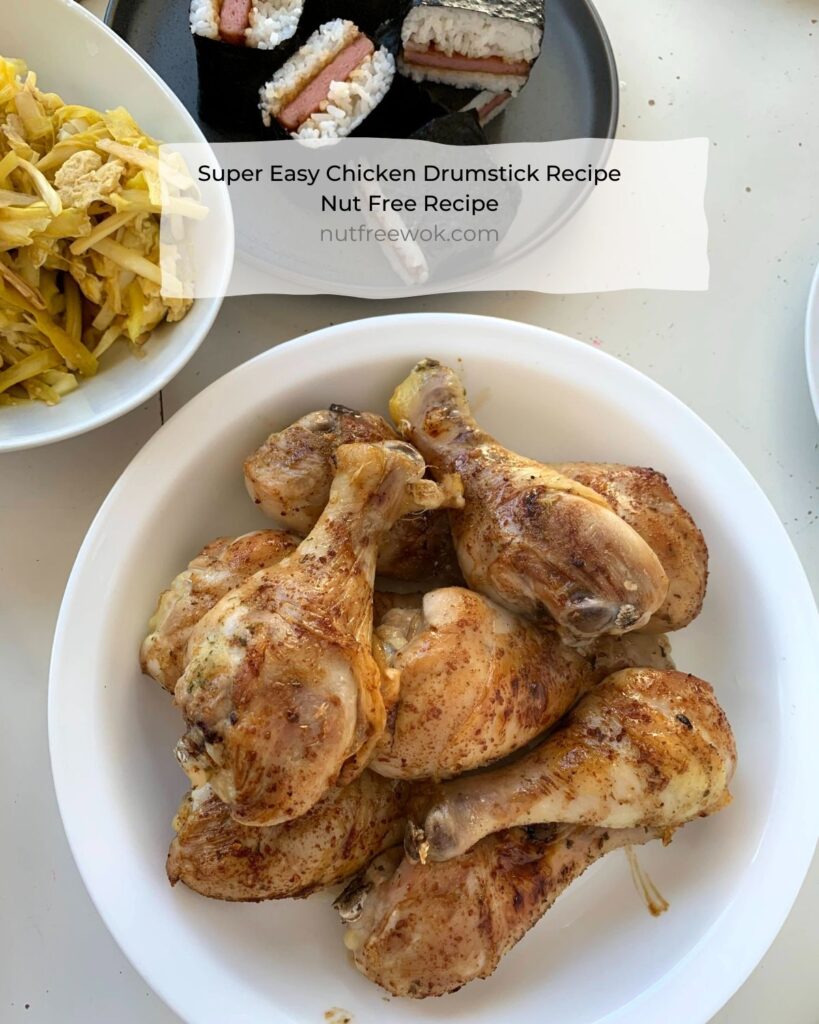
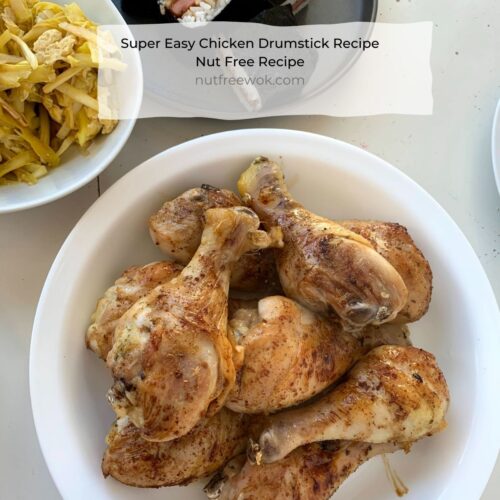
My super easy chicken drumstick recipe makes very flavorful and juicy chicken drumsticks in your oven. Broiling them for a few minutes helps to seal the chicken so that it stays juicy and tasty. Not only is this recipe nut free, it’s also top 8 allergen free and sesame free.
(Update: this post was updated on 4/25/2022 with minor edits and to reflect updated food safety practices)
Inspired by Dad’s recipe
My dad worked the swing shift so we didn’t have dinner with him on weeknights. Weekend dinners were our special family time and I especially loved it when my dad cooked and made pan fried chicken drumsticks in a skillet, which was different from the usual stir-fries and steamed dishes that we usually had. Season, sear, flip, sear, cover and then mouthwatering, juicy drumsticks for dinner and the entire house smelled wonderful.
When I was a busy mom of very little children, I needed to figure out how to scale up the recipe so that there would be leftovers for lunch the next day and faster clean up that didn’t involve cleaning up splatters (I did try a splatter guard, but it ended up trapping the steam and braised the chicken). This is a unique recipe inspired by my dad’s “Sear, flip, sear, and cover” stove top technique except in an oven.
My mom does a great job of making pan fried chicken drumsticks exactly the same way as my dad but she always requests that I make my oven broiled and baked chicken drumsticks for her everytime she comes over for a meal! I think the tables have been turned. Needless to say, this super easy chicken drumstick recipe is a favorite main dish at my house. Even though I make chicken drumsticks 1-2 times a month, I often change it up for a little variety.
Simple Variations
Variation 1: I follow the recipe as written below but after the chicken has been baking in the oven on the middle shelf for about 20 minutes, I brush on a little Mr. Yoshida sauce and continue baking for another 5-10 minutes. One can substitute other marinades, bbq sauces, honey, etc. depending on allergies and preferences.
Variation 2: If I have more time, instead of using powdered seasonings and salt, I marinate the chicken in 1 cup of Mr. Yoshida sauce, 2 cloves of minced garlic, and 2 chopped green onions and marinate the chicken for a few hours. I recommend watching the broiling times very closely as the marinated meat will char quickly.
Important Recipe Notes:
- The FDA does not recommend washing or rinsing chicken before cooking. It’s a hard habit for me to break, but I’ve tried using a paper towel to wipe off any bone fragments and bits of feather and that seems to work for me. I updated the recipe instructions.
- After you broil the chicken, it’s important to remember to turn the broiler off and switch to bake for the remaining 25 minutes.
Allergy Aware Chicken Drumsticks
This recipe is free of peanuts, treenuts, milk, egg, soy, fish, shellfish, wheat, and sesame! Yay for a top 8 plus sesame allergen free recipe that everyone can enjoy. If you have allergies to onions or garlic, pick a different spice that you can eat and try the technique. I use Mr. Yoshida’s Original Gourmet Sauce and sometimes I will use my Sharon’s Teriyaki Marinade Recipe: Easy, Delicious, & Nut Free Recipe.
Get ready for the most out the the world, moist, juicy and flavorful chicken! Enjoy!
Super Easy Chicken Drumsticks
Ingredients
- 16-20 chicken drumsticks 1 family pack or 3 small trays
- 1 teaspoon onion powder
- 1 teaspoon garlic powder
- 1 tablespoon dried parsley
- 1 teaspoon salt
Instructions
- Line a large rimmed baking sheet with foil.
- Place one oven rack second shelf from the top (about 5 inches from the broiler) and place a second oven rack in the middle.
- Check the drumsticks for any bone or feather fragments and use paper towels to wipe or remove them and pat dry the chicken drumsticks. Place them on your foil lined baking sheet.16-20 chicken drumsticks
- Combine the onion powder, garlic powder, parsley and salt and sprinkle half over the chicken, flip the chicken over and sprinkle the mixture on the other side (you can prep ahead to this point, wrap everything up and refrigerate for a few hours).1 teaspoon onion powder, 1 teaspoon garlic powder, 1 tablespoon dried parsley, 1 teaspoon salt
- When you are ready, preheat the broiler on high for 5-10 minutes.
- Broil for 4-5 minutes on the upper oven rack until the skin is a little browned but not charred (your kitchen will smell delicious already).
- Flip each piece of chicken over and broil for 4-5 minutes again until the skin is slightly browned but not charred.
- Move the tray of chicken to the middle oven rack.
- **Very important to change your oven setting to BAKE AT 350 °F** and set a timer for 25-27 minutes. You may optionally brush on some teriyaki sauce after 20 minutes and continue baking for 5-7 more minutes.
- The drumsticks are ready when the smaller drumsticks expose a little bit of bone.
Nutrition
More Recipe Suggestions:
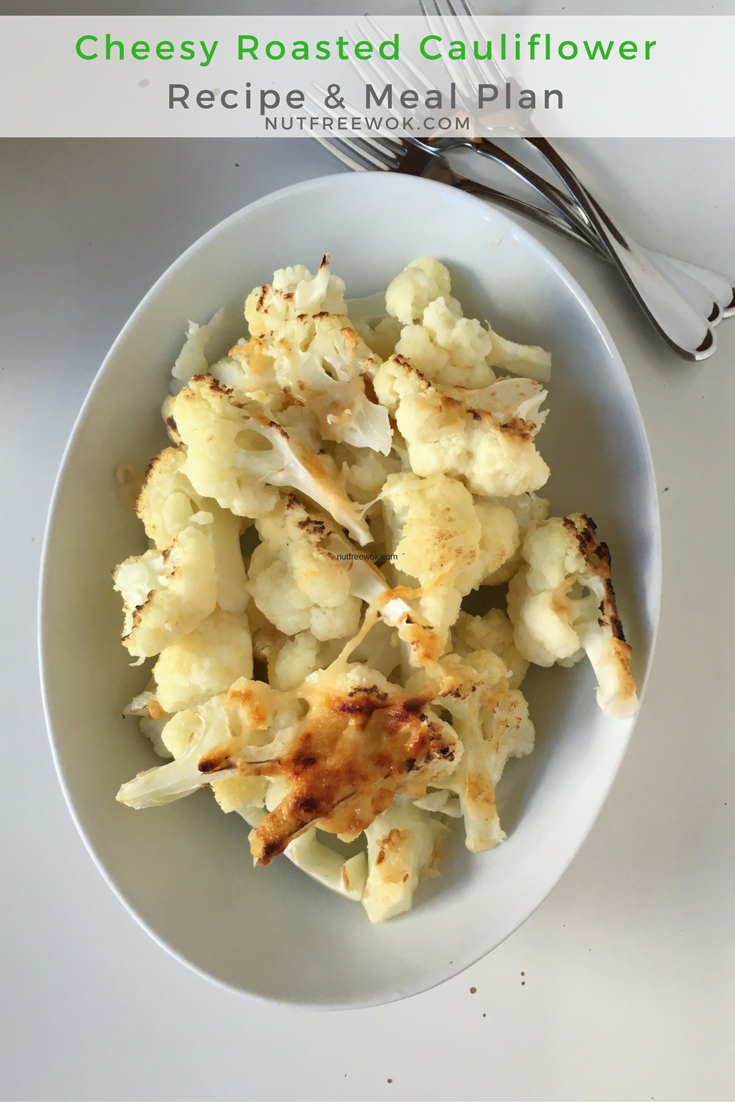
For meal planning purposes, I usually set up my rice cooker to make rice before I start making the chicken. Then while the chicken is baking (see step 9), I will prep a veggie side dish. It’s very energy efficient to make Cheesy Roasted Cauliflower during the last 10 minutes of baking since the oven is already hot. I take the chicken out and then broil the cauliflower for a minute to brown the cheese.
Since I wrote this post in 2014 originally, I have more related recipes that might be of interest. If you like this recipe you might also like my recipe for Roasted Turkey Drumsticks For Everyone.
Slow cooker lovers will like this very hands-free chicken drumstick recipe, check out 5 Spice Soy Sauce Chicken Drumsticks, a Slow Cooker Recipe.
If you have a lot of drumsticks, you can cook them in soup such as Instant Pot Chicken Soup with Corn and Vegetables, A Dream Come True or Instant Pot Chicken Corn Egg Drop Soup Recipe. Or make chicken congee Instant Pot Chicken Congee (Chicken Jook).
Thanks for reading, please help Nut Free Wok!
If you like this post or recipe, please be sure to give a 5 star rating, leave a comment, and share this post! Your support means a lot to me.
Subscribe to Nut Free Wok’s email subscription (be sure to respond to the confirmation email). You will be notified by email next time I publish another post or recipe and I won’t send you spam or share your email address with anyone.
Disclosure/Disclaimer:
I may mention the names of stores and/or brand names of products that I use because readers ask and I share products and sources which I use and think may be helpful to readers, all opinions are my own. Please note that manufacturing practices and ingredients can change at anytime without notice and readers are always responsible for assuring allergen safety before buying or consuming foods. NutFreeWok.com is a participant in the Amazon Services LLC Associates Program, an affiliate advertising program designed to provide a means for sites to earn advertising fees by advertising and linking to Amazon.com. Thank you for reading!



looks great, I wonder if it would end up crispier if you reversed the order of baking then broiling
I recently baked some chicken at the same temperature until done and it was just so dry and blah. Broiling later might end up crispier, I haven’t tried it. I was taught to sear first for juicier meat and that’s why I broil first.