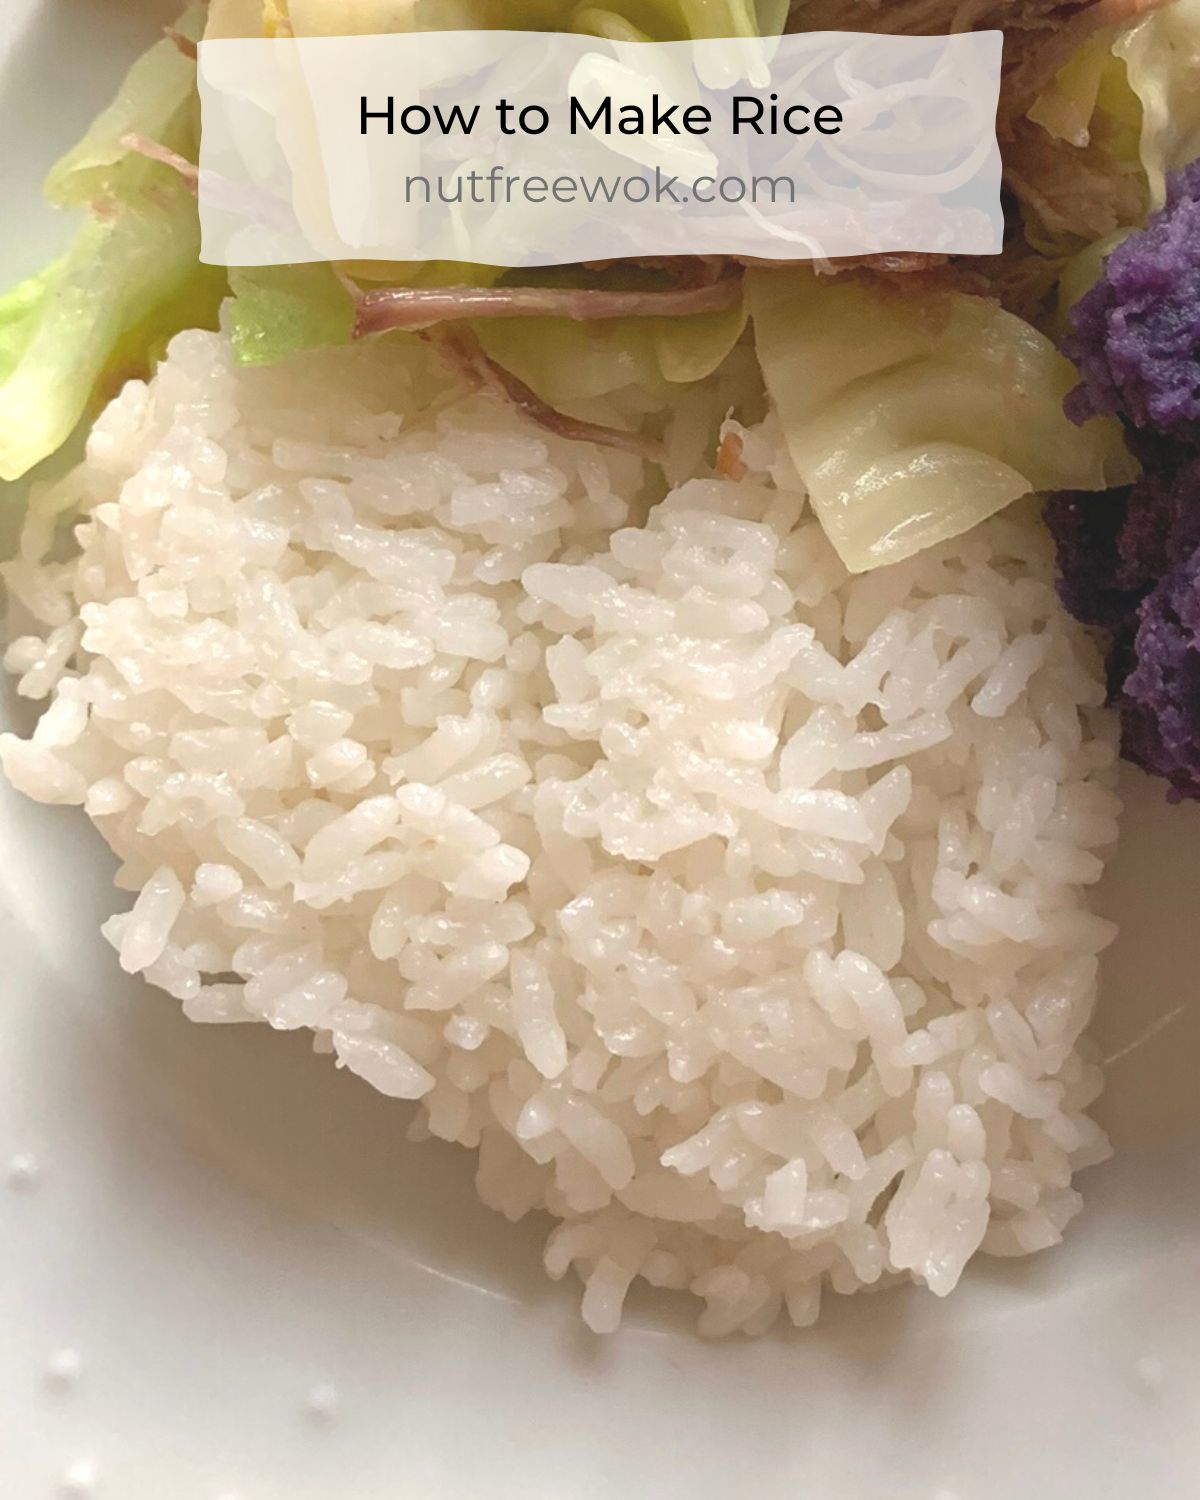
Learning how to cook rice in a rice cooker or a pot on the stovetop is a highly useful skill to have. Knowing how to make rice properly can be a game-changer for your Allergy Aware Asian Fare. Rice is the foundation of many Asian meals and can be made into many versatile meals and ingredients, such as rice flour or rice noodles.
Disclaimer: Please check that all ingredients are suitable for your allergies and be sure to ask your medical care team regarding any allergy related questions (I do not share medical advice). As an Amazon Associate, I earn from qualifying purchases.
Update: This post was updated on 9/9/2022 with minor edits and I added a recipe to make rice in a pot.
White Rice varieties
There are many kinds of rice but for most Asian meals and an easy rice to cook in a pot, I recommend the following white rice:
- Long grain rice – It is fluffy, slightly chewy, and the leftovers great for making Chinese fried rice.
- Short grain (Calrose) – This is my current favorite, tender, mild flavor, slightly sticky, and perfect for making sushi. I buy Homai’s white calrose rice and Lundberg’s organic brown calrose rice, both from Costco.
I like eating jasmine rice when we eat out but when I cook it, I seems to need more water than long grain rice or short grain rice, which is why I wouldn’t recommend it for the recipe below. While it tastes and smells good when freshly prepared, leftover jasmine rice is just ok.
Make Rice in a Pot
My mom broke down how to make rice step by step and I learned a little more about making rice each day. She explained how to figure out how much rice to measure out to cook, how to wash the rice, how to figure out how much water to add, how to cook it without making a giant mess and most importantly, when to lower the heat and cover the pot.
1) How much rice to make
Most Asian people have a rice cooker that comes with a plastic measuring cup that is 3/4 cups or 180 ml. I allow 2 servings for every scoop of rice, but some people might prefer 1 scoop per person. I usually make extra rice for the next meal, so for our family of 4, I make 4 scoops. But if I wanted to make enough rice for 12 people then I would measure out 6 scoops plus 1 extra scoop in case anyone is super hungry.
2) How to wash rice
When I was younger, I was instructed to wash the rice until the water was clear. Now I understand that washes away the vitamins that white rice is enriched with to make up for the removal of the nutrients in the milling process. I cannot help but wash rice anyways, so I compromise by giving the rice a quick rinse or two to give the any possible debris a chance to float away. I fill the pot with water, swish, and drain the water and then the rice would fall out of the pot much to my frustration. Now I have plastic rice washing bowls with a strainer on the side (affiliate link) with a strainer on the side which makes it so much easier to wash rice and other foods. Newer rice washing bowls have draining holes at the bottom which I don’t prefer.
3) How much water to add
Generally the rice to water ratio is 1 to 1.25 but I don’t usually measure the amount of water. Add your rinsed rice to a pot (ex. a small 2 qt. pot to make 2 scoops of rice), add some water and give the pot a swirl to level the rice. Then stick your index finger to the top surface of the rice and add enough water to the level of your first joint (approximately 1 inch).
If you are using a rice cooker, the liner usually has graduated marks and the numbers correspond to the number of 3/4 cup sized scoops (usually provided when you buy a rice cooker), not the number of cups. You have better results if you soak your rice for a short while before cooking.
4) How to cook rice on a stove top
Learning how to cook rice on a stove is a great skill for Allergy Aware families because that means you can cook rice anywhere, such as at an extended stay hotel while on vacation or while camping using a camp stove, etc.. Bring water and rice to a boil on medium heat and be ready to lift the lid before the starchy water comes to a rolling boil and bubbles over. Allow the rice to boil until the most of the water is absorbed, you won’t really see any more liquid in the pot, just some starchy bubbles and the sound of the rice cooking will change. Immediately cover the pot with a lid and lower the temperature to the lowest possible setting. The rice will be ready in about 15 minutes.
5) How to cook rice in a rice cooker
Cooking rice in a rice cooker couldn’t be easier. Measure, wash, add water, push a button, walk away and rice is ready in 30-45 minutes, depending on how much rice you are cooking! There are basic models that are inexpensive and can get the job done. A slightly upgraded model might have a non-stick interior that makes washing the liner easier. I used to have a 10 cup rice cooker that did a great job of cooking 10 scoops of white rice but if I tried to cook more than 2 scoops of brown rice, the rice cooker would spew out rice cooking water out the vent and out the sides, creating a huge mess like a little rice cooker volcano.
My Favorite Rice Cooker
When our old rice cooker finally broke, we replaced it with a Zojirushi 10-Cup rice cooker (affiliate).![]() A 5 cup rice cooker is available as well. (affiliate link). It has a “fuzzy logic” feature that allows me to specify what kind of rice I’m cooking (white or brown) and it’ll cook the rice perfectly (softer or harder or quick mode). It makes the best brown rice ever and I no longer have to worry about dealing with a rice cooker volcano in the middle of preparing dinner.
A 5 cup rice cooker is available as well. (affiliate link). It has a “fuzzy logic” feature that allows me to specify what kind of rice I’m cooking (white or brown) and it’ll cook the rice perfectly (softer or harder or quick mode). It makes the best brown rice ever and I no longer have to worry about dealing with a rice cooker volcano in the middle of preparing dinner.
I can also set up the rice cooker in the morning and program what time I want the rice to be ready at dinner time. It also has a setting for making porridge and sweet rice. The brains of the rice cooker has lasted quite a long time but I did have to replace the non-stick liner after a few years as the non-stick coating started to flake off. Since I have originally shared this post, my hubby replaced the rice cooker last year (2021) because the battery for the display ran out and isn’t replaceable.
Make Rice in a Pot
Ingredients
- 1 ½ cups rice dry and uncooked (2 scoops)
- 1 ¾ cups water
Instructions
- Wash the rice in a medium sized pot (2-3 quarts, with a lid). Add the rice to the pot, add some water, and gently swish with your fingers or a spoon. Carefully pour out the cloudy water without spilling the rice and repeat 1-2x more times.
- Add 1 ¾ cups water to the rice and allow the rice to soak for 10 minutes or longer. I recommend cooking the rice within the same day.
- Approximately 30 minutes before you want to eat, bring the pot of water and rice to a boil on medium heat. Be ready to lift the lid before the starchy water comes to a rolling boil and bubbles over, approximately 3 minutes.
- Allow the rice to boil until most of the water is absorbed. You will see some starchy bubbles and the sound will be different. Cover the pot with a lid and lower the temperature to the lowest possible setting. If you have an electric stove, you need to lower the temperature sooner and cover the pot with a lid when the sound changes.
- Allow the rice to steam on low heat for about 15-20 minutes.
Notes
Nutrition
What to Make with Leftover Rice
Pro tips: If you have some leftover rice, transfer the freshly cooked rice into a heatproof container, cover it slightly and allow it to cool to room temperature (about 30 minutes, set a timer) and then cover or wrap and refrigerate. Do not try to make fried rice with fresh rice, it will only turn soggy and mushy. Leftover rice that has been refrigerated overnight makes the best fried rice.
Try some of my other recipes such as
Chicken Pineapple Fried Rice, it’s a tasty and tropical Thai inspired fried rice.
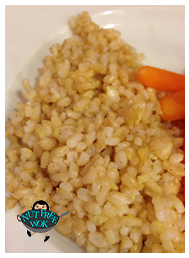
Ginger Fried Rice, it looks and sounds plain but so full of flavor and fantastic to eat if feeling slightly under the weather.
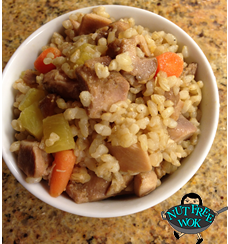
Beef Fried Rice with Cabbage and Carrots. This is a fast and hearty fried rice. Sometimes we just skip the fried rice part and just have the beef with cabbage and carrots over rice.

Thanks for reading, please help Nut Free Wok!
If you like this post or recipe, please be sure to give a 5 star rating, leave a comment, and share this post! Your support means a lot to me.
Subscribe to Nut Free Wok’s email subscription (be sure to respond to the confirmation email). You will be notified by email next time I publish another post or recipe and I won’t send you spam or share your email address with anyone.
Disclosure/Disclaimer:
I may mention the names of stores and/or brand names of products that I use because readers ask and I share products and sources which I use and think may be helpful to readers, all opinions are my own. Please note that manufacturing practices and ingredients can change at anytime without notice and readers are always responsible for assuring allergen safety before buying or consuming foods. NutFreeWok.com is a participant in the Amazon Services LLC Associates Program, an affiliate advertising program designed to provide a means for sites to earn advertising fees by advertising and linking to Amazon.com. Thank you for reading!


What a good tutorial! I’m ashamed to say I’ve definitely messed up rice before. It’s deceiving–seems simple, but you really do need a few good practices to get it the way it should be!
Thanks, Megan! It’s great to practice at home so it’s much easier trying to make rice on the go in a condo rental or while camping. 🙂