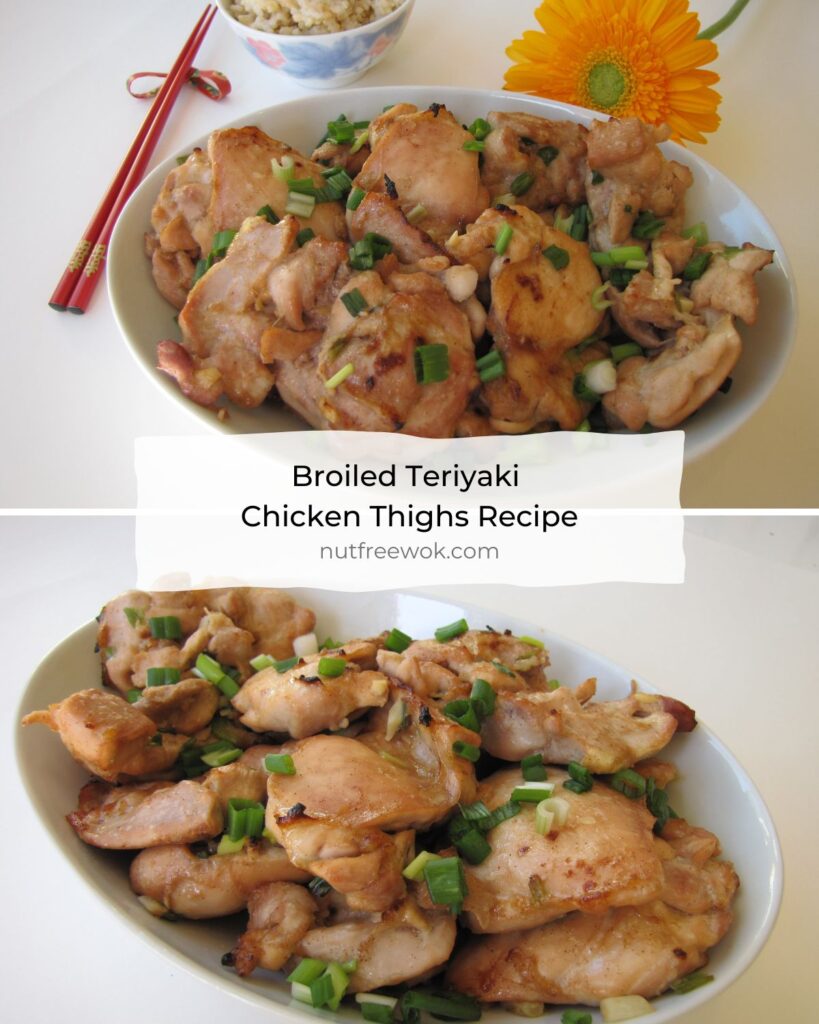
These broiled teriyaki chicken thighs are juicy and tender to eat and they’re fast and easy to prepare at home for a quick weeknight meal or for special gatherings. I also have an Instant Pot variation of this recipe, Instant Pot Chicken Thighs with Teriyaki Sauce Recipe & Review. If you happen to have chicken drumsticks, I have a similar recipe Super Easy Chicken Drumstick Recipe.
Disclaimer: Please check that all ingredients are suitable for your allergies and be sure to ask your medical care team regarding any allergy related questions (I do not share medical advice). As an Amazon Associate, I earn from qualifying purchases.
Jump to RecipeDelicious Chicken Thighs
I love to eat Broiled Teriyaki Chicken Thighs, they’re tasty and tender pieces of chicken marinated with a sweet and salty sauce. They’re usually grilled and then basted with a glaze, but my recipe has more flavor, less fat, faster prep, and maximum efficiency to get a meal on the table quickly.
- I use scissors to trim off the excess fat from the boneless, skinless chicken thighs.
- It takes about 10-15 minutes to marinate the chicken and in the meantime you can preheat the oven, prep a baking pan, make other dishes, etc..
- Once you put the chicken under the broiler, you need to set a timer for 4 minutes and then check the chicken to see if there’s a little bit of browning and then flip it over. Check again in 4 minutes. Dinner is cooked within 8-10 minutes.
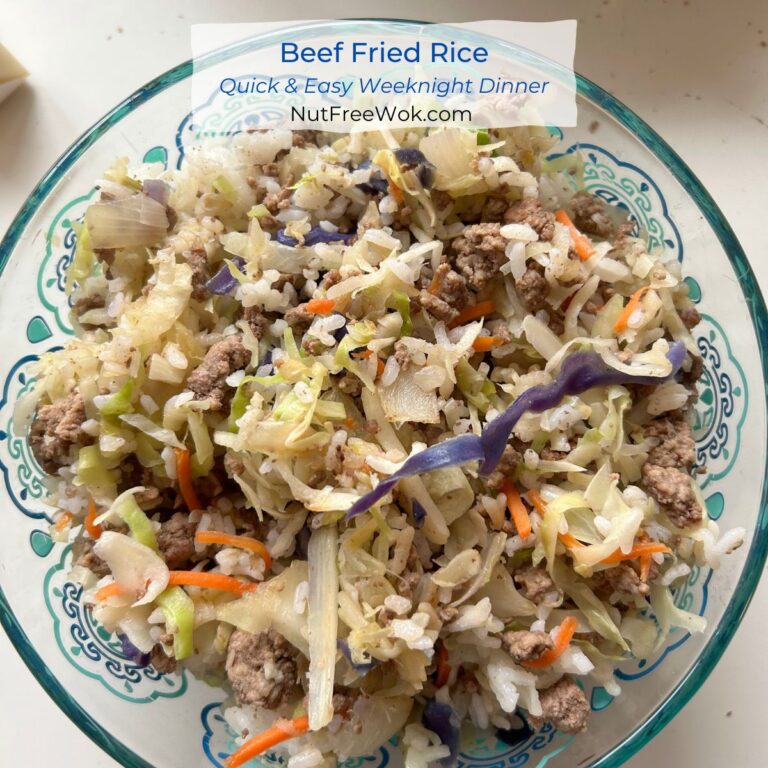
My Broiled Teriyaki Chicken Thighs are a such a great dish to bring for a potluck and leftovers can be the base for another meal such as Pineapple Chicken Fried Rice. We have pre-cooked chicken this way and vacuum sealed it to take with us on road trips for an easy heat and serve meal.
I love this recipe so much and it was feautred in an article on NBC News: Meet the Mom Behind the Nut Free Wok

Allergy Aware Chicken Teriyaki
I’ve always used Mr. Yoshida Original Gourmet Sauce because it was the only brand I could find that didn’t obviously contain sesame.
My son has since outgrown his sesame allergy but I recently learned and shared in a recent post about my conversation with a Mr. Yoshida’s customer service representative and want to caution readers with allergies with any non-top 8 allergens, such as spices, to be careful as Heinz will not disclose exactly which “spices” are used for proprietary reasons.
Other companies make teriyaki sauces and if you contact them, they are willing to disclose allergen information for the safety of their customers (in no particular order): San-J, Wan Ja Shan, Kikkoman. For a complete list of ingredients that I use, check out what is in my cupboard.
This recipe is peanut-free, tree nut free, dairy free, shellfish free, fish free, and egg free, as written.
It also does not contain sesame, but I recommend checking the ingredient label of your teriyaki sauce.
You can also make your own teriyaki sauce from scratch to be sure that the sauce is 100% nut-free and sesame-free. If you also avoid soy, you could try making your own soy-free soy sauce first.
If you like this recipe and have an Instant Pot, you can also make Chicken Teriyaki in the Instant Pot for your convenience. It’s a great alternative when you’re traveling or when you are cooking for a crowd and already have something in the oven.

Broiled Teriyaki Chicken Thighs
Ingredients
- 3 pounds chicken thighs, boneless, skinless 10-12 pieces, 2 trays
- 1/3 cup teriyaki sauce
- 1 scallion thinly sliced (optional)
- 1 clove garlic minced (optional)
Instructions
- Use scissors to trim off the fat from the chicken thighs and place the thighs into a large bowl. Add sauce, scallion and garlic (if using) and marinate for 10-15 minutes.
- Check that the top rack in the oven is 4 inches from the broiler element and preheat the broiler on high for a few minutes.
- In the meantime, line a large baking sheet with foil for easy clean up.
- Place chicken pieces on the baking sheet and discard marinade.
- Spread the pieces out so that they lie flat and do not overlap.
- Broil for 4-5 minutes until the chicken starts to brown. Then turn over each piece of chicken and broil for another 4-5 minutes (time varies, see recipe notes).*
- The chicken is ready when both sides look caramelized (golden brown, with a few brown spots), remove and transfer to a serving platter with the sauce in the baking pan.
- Serve with rice and a favorite vegetable side dish.
Notes
Nutrition

Thanks for reading, please help Nut Free Wok!
If you like this post or recipe, please be sure to give a 5 star rating, leave a comment, and share this post! Your support means a lot to me.
Subscribe to Nut Free Wok’s email subscription (be sure to respond to the confirmation email). You will be notified by email next time I publish another post or recipe and I won’t send you spam or share your email address with anyone.
Disclosure/Disclaimer:
I may mention the names of stores and/or brand names of products that I use because readers ask and I share products and sources which I use and think may be helpful to readers, all opinions are my own. Please note that manufacturing practices and ingredients can change at anytime without notice and readers are always responsible for assuring allergen safety before buying or consuming foods. NutFreeWok.com is a participant in the Amazon Services LLC Associates Program, an affiliate advertising program designed to provide a means for sites to earn advertising fees by advertising and linking to Amazon.com. Thank you for reading!


Thank you for the recipe. My whole family enjoyed it. Juicy and flavourful and so simple to prepare. Was ready in no time. We served it with Pineapple Fried Rice.
Awesome!!! I’m so glad your family enjoyed the recipe. <3 The pineapple fried rice rocks.
Do you think this would also work on a grill?
Yes, it definitely would work on a grill. But I don’t do the BBQing at our house so I can’t give you a good estimate on how long it takes to grill.
Thank you for this recipe! Your instructions were so easy to follow. Glad you suggested trimming fat off the thighs. Made a big difference. Thank you for your blog and recipes.
DeeDee
Hi DeeDee! Awesome, I’m so happy to hear you enjoyed the recipe. Isn’t it super easy to use scissors to trim off the fat? If you have any leftovers, they’re greaet for Chinese Chicken Salad or fried rice. Have a great week! ~Sharon
I love the vacuum seal idea for traveling! Never thought of that! Would love to see other recipes that work well using this idea. Thanks!
Sure thing, Linda! Anything that isn’t sauce dependent and can hold it’s shape can be vacuum sealed. This particular chicken recipe is also very versatile and I love using the leftovers to make other dishes.
Will definitely try this this week! Where can I buy Mr Yoshidas sauce?
Hello Connie!! I buy Mr. Yoshida Sauce from Costco and go thru 2-3 bottles per year. If you want to try it out first, I think I’ve seen it at Safeway.
Thank you for the recipe! We made it yesterday and it was yum!
Yay, Connie for trying the recipe and I’m sooooo glad it turned out!