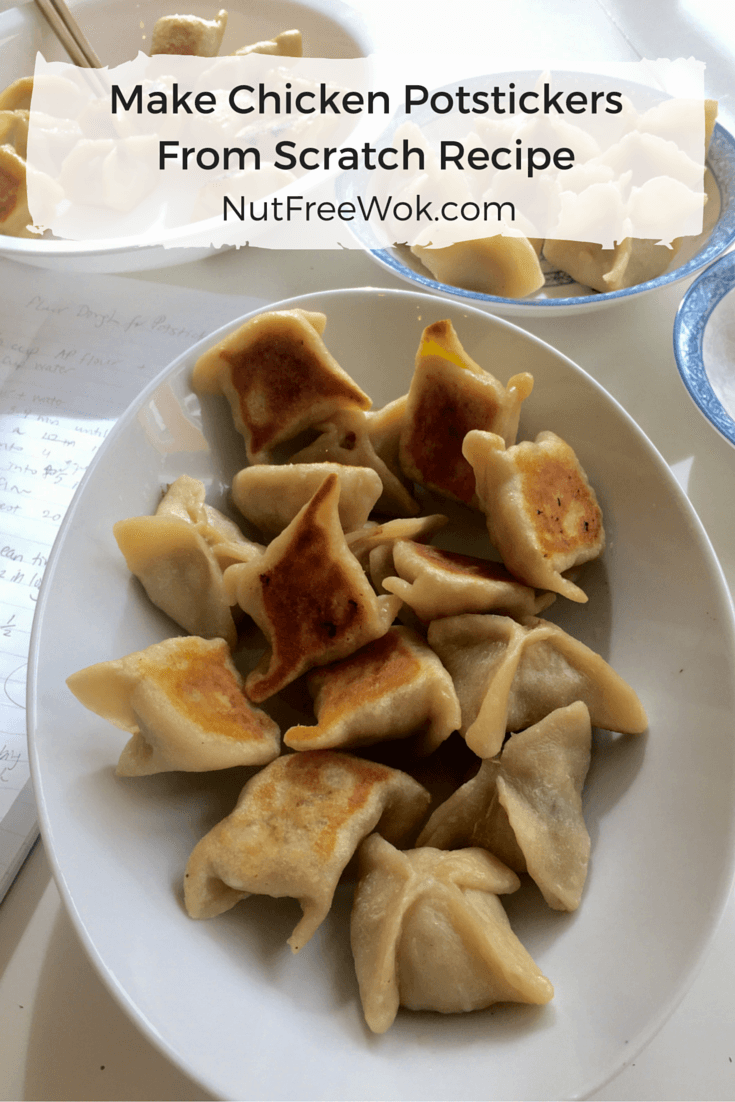
You can make these Chicken and Corn Potstickers at home even if you can’t buy potsticker wrappers at a store because this recipe contains instructions to make the wrapper from scratch. These crispy bottom potstickers are savory with a bit of sweetness from nibbles of corn.
Disclaimer: Please check that all ingredients are suitable for your allergies and be sure to ask your medical care team regarding any allergy related questions (I do not share medical advice). As an Amazon Associate, I earn from qualifying purchases.
Jump to RecipePotsticker Filling Made with Chicken
Traditional potstickers are made from pork and napa cabbage but I love some of the newer variations such as pork potstickers with celery, chicken potstickers with corn, shrimp potstickers with chives, etc.. When I posted a recipe for Pork & Napa Cabbage Potstickers, I mentioned that I would share a variation with you. This recipe is made with a different meat and produce and uses a made from scratch wrapper.
Making Homemade Wrappers
I like the convenience of buying potsticker wrappers but I prefer the taste of homemade wrappers much better. It takes about 10 minutes to make the dough by hand (easy) and I let the dough rest for about 30 minutes while I make the filling. When ready to assemble, I roll the wrapper into a circle, add a little bit of filling, and seal it up. Rather than pleat them like traditional potstickers, I don’t fuss with them and seal them up simply to save time.
The potsticker wrapper instructions are inspired by a combination of Ellen Blonder’s Dim Sum cookbook (affiliate link), Steamy Kitchen’s recipe, and Andrea Nguyen’s Asian Dumplings(affiliate link). The filling is inspired by a couple of local restaurants that serve chicken potstickers with corn.
Allergy Aware Asian Fare: Chicken with Corn Potstickers
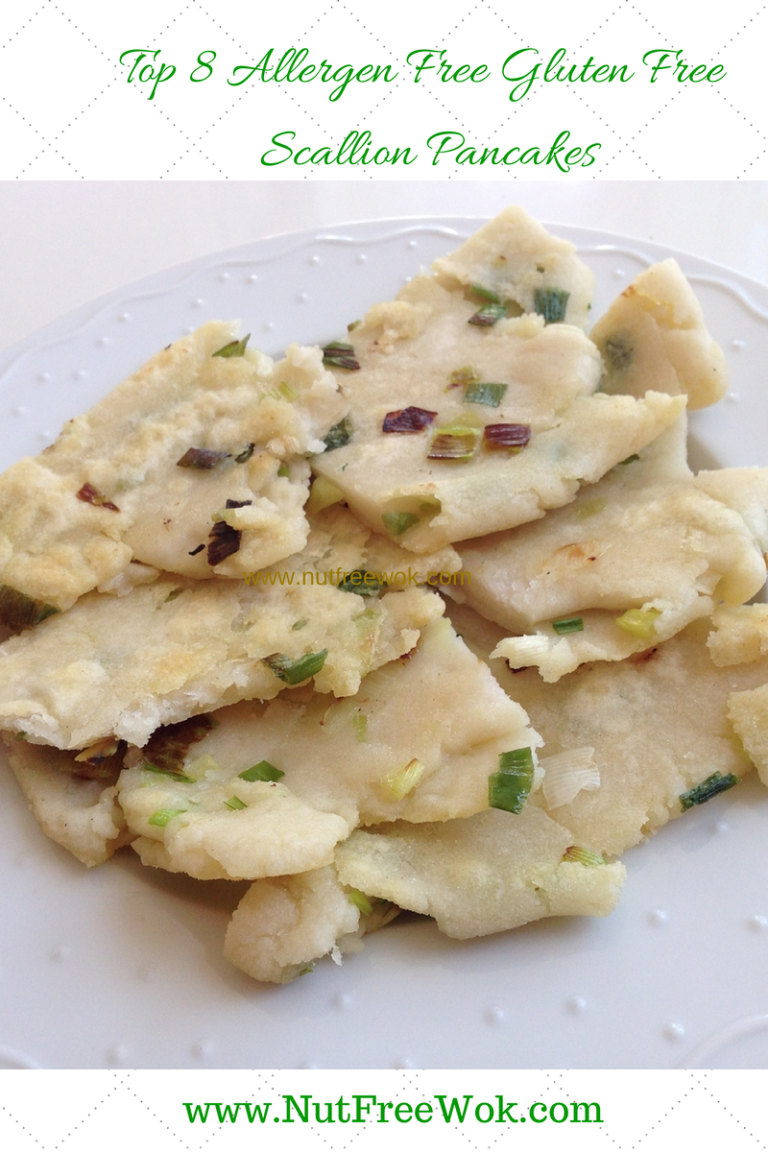
If you are avoiding soy, you can easily substitute with 1/3 tsp of salt or using a soy sauce alternative or some soy-free soy sauce. If you are avoiding wheat or gluten, stay tuned for a gluten free version of the potsticker wrapper.
I hope you enjoy this recipe for Chicken Potstickers. You can also try using using the filling for this recipe with store bought potsticker wrappers or the pork and napa cabbage filling with a homemade potsticker wrap. My latest potsticker recipe is Pan-Fried Pork and Shrimp Dumplings (Potstickers) made with a homemade wrapper.
This chicken potsticker recipe is peanut-free, nut-free, egg-free, fish-free, shellfish free, dairy-free and sesame-free too.
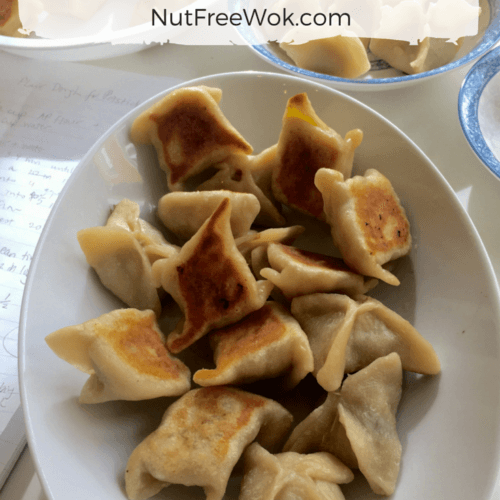
Make Chicken Potstickers From Scratch Recipe
Ingredients
- 1 1/2 cup all purpose flour plus extra for dusting
- 1/4 tsp salt
- 2/3 cup hot water
- 8 oz ground chicken
- 1/2 cup frozen corn thawed (I use organic corn)
- 2 stalks scallions chopped
- 1 tablespoon soy sauce or allergy safe equivalent
- 1 teaspoon cornstarch
- 1/2 teaspoon garlic powder or 1 clove garlic, minced
- 1/2 teaspoon sugar
- 1/8 teaspoon white pepper
- 2 teaspoons oil for frying
- hot water
Instructions
- Mix flour and salt together in a large bowl.
- Pour hot water around the flour while combining the water and flour together with a fork or a spatula until the dough is shaggy.
- Knead the dough in the bowl or on a flour dusted surface for 3-5 minutes until the dough is smooth, add small amounts of flour as necessary to keep the dough from sticking.
- Roll the dough into a 10 inch cylinder, cut it into 4 equal sizes.
- Roll the quarters into a 5 inch log and dust them generously with flour and loosely wrap with plastic or place inside a sturdy plastic bag (such as a freezer bag), allow the dough to rest at room temperature for 20 minutes (up to 2 hours, if making ahead, refrigerate the dough and allow it to come to room temperature).
- Combine chicken, corn, scallion, soy sauce, cornstarch, garlic, sugar, and white pepper and set aside.
- When ready to assemble, roll one log into an 8 inch long rope and cut the rope into 8 equally sized marshmallow shaped pieces of dough (keep the rest of the dough moist by leaving the rest covered or inside the bag)
- Dust your work surface with flour, place the cut ends into the flour and gently pat them down with your fingers into cookie shaped disks.
- Either use a tortilla maker (if you have one) or a small rolling pin to roll the disks into 1/8 inch thick wrappers, about 3 inches in diameter.
- As you work, keep your dough from drying out by covering the disks and rolled out wrappers with plastic wrap.
- Add a heaping teaspoon of filling to the center and seal it up: pinch the dough at 3 o’clock and 9 o’clock positions and bring them together, pinch them shut at 12 o’clock and 6 o’clock to form a little pouch (or you can either fold in half into a half moon or pleat them like the other potsticker recipe).
- Repeat until all the dough or filling is used up.
- When you are ready to cook them, preheat your frying pan on medium-high heat for a few minutes, add a teaspoon of oil and swirl to coat.
- Arrange half of the potstickers on the frying pan and allow them fry until slightly browned (about 3 minutes), add about 1/3 cup hot water, cover immediately, and steam for approximately 8-10 minutes until the pan stops sizzling, uncover and allow the potsticker bottoms to become crisp.
Notes
Related Recipes
I have a few other potsticker recipes, Pan-Fried Pork and Shrimp Dumplings (Potstickers) is a classic recipe with a homemade wrapper recipe. If you have access to a store with potsticker wrappers, you can try my recipe for Chinese Potstickers Recipe: Pork & Napa Cabbage. The filliing recipes are interchangeable.
If you don’t want to make potstickers from scratch, then you might like frozen potstickers which you can pan fry or make it into a Chinese Potstickers with Napa Cabbage Carrot Soup.
Our family likes the combination of chicken and corn a lot. I have a hearty Instant Pot Chicken Corn Egg Drop Soup Recipe as well as a fast and easy stovetop version of Corn and Egg Drop Soup.
Thanks for reading, please help Nut Free Wok!
If you like this post or recipe, please be sure to give a 5 star rating, leave a comment, and share this post! Your support means a lot to me.
Subscribe to Nut Free Wok’s email subscription (be sure to respond to the confirmation email). You will be notified by email next time I publish another post or recipe and I won’t send you spam or share your email address with anyone.
Disclosure/Disclaimer:
I may mention the names of stores and/or brand names of products that I use because readers ask and I share products and sources which I use and think may be helpful to readers, all opinions are my own. Please note that manufacturing practices and ingredients can change at anytime without notice and readers are always responsible for assuring allergen safety before buying or consuming foods. NutFreeWok.com is a participant in the Amazon Services LLC Associates Program, an affiliate advertising program designed to provide a means for sites to earn advertising fees by advertising and linking to Amazon.com. Thank you for reading!


Loved this recipe! So much fun to make–and it was great to continue to introduce my son with allergies to safe Asian cooking/food!
Thank you, Lori! It makes me so happy to know that your family enjoyed the recipe. I’m making chicken with celery potstickers this weekend, so yum! What else does your son like?
This looks delicious! Pinning it!
Thank you, Kathryn! Happy new year!
Thank you! I’m trying this tonight with a GF wrapper recipe. Crossing fingers.
Good luck, I hope it works out. I have been trying to make GF wrappers w/o xantham gum (I think that’s the hard way, LOL).